How to Write a Blog Post Efficiently: My 8-Step Blog Writing Process
What holds you back from blogging?
It might not be that you don’t how to write, but that you don’t have an efficient blog writing process in place. Many people I talk to – whether they’re business owners who know that consistent blog posts can help boost traffic or aspiring bloggers who want to share an important message – all say that the same thing stands in their way.
Time.
I totally get it. It’s easy to spend hours and even days writing a simple 1,000-word blog post, and I certainly have. But with a method in place and a few tools to keep you focused, you can get your blog writing done more efficiently and deliver value to your customers and readers more frequently.

With any writing project, the hardest part is getting started. Since my job depends on how efficiently I can write blog posts while maintaining quality and depth, I had to find a process I could count on every time.
Alas, the 8-Step Blog Writing Process!
Having a Process in Place Saves You Time
Alright, I know an 8-step process doesn’t quite sound like it’s going to be all that quick. But each of these steps is crucial for maintaining quality in an efficient manner. The process may take shorter or longer depending on your word count, research needed and graphics being used, but you can expect to take at least an hour to complete the process.
A process, no matter how many steps it is, will save you far more time than if you were to dive right into your text editor and try to type up a killer blog post. These steps are meant to help you get past the blank page quickly, formulate your ideas, and create a structure. That way when you do go in and start typing, you don’t feel so lost.
My 8-step blog writing process will help you hit publish in a timely manner. This is the process I use to write and publish 3 times a week on my personal blog, twice a week on this client’s blog, and fulfill weekly and monthly blogging assignments for other clients.
First, consider using a few tools to make your process even more efficient.
Tools for an Efficient Blog Writing Process
Here are the apps and tools I use to streamline my writing process:
Google Keyword Planner
To find out if your topic is a popular search item, enter your keywords into the Google Keyword Planner. This will show you the exact search terms that people use to find articles on your topic.

Go with a search term that has medium competition, and between 1,000 and 100,000 average monthly searches. Using this keyword phrase throughout your post will help your article rank higher in Google, but be careful not to sacrifice quality for the sake of using keywords.
Focus Booster
I love this app! Ever heard of the Pomodoro technique? Basically, it’s a productivity method in which you work on an individual task for 25 minutes straight followed by a 5-minute break, then repeat forever and ever.
With the free Focus Booster app, you can set a timer for how long you want to work on a task and another timer for how long you want your break to be. I use this to batch out different steps throughout my writing process.
Evernote
Evernote is an online note-keeping system. What I love about it is the Evernote web clipper extension. If I’m reading an article for blog post research, I can use the extension to clip a quote or section from the article or save the whole article into a specific notebook within the app.
The app syncs to your phone and other devices as well. I use it frequently to jot down post ideas that come to mind when I’m out pretending not to work 🙂
Trello
Trello is a project management system that many work teams like to use. With its team-management friendliness, writers and editors can share and comment on ideas easily.
I also love using Trello for my individual projects. I keep boards for client blogs, post ideas and individual posts. Then I can go in and add checklists and due dates for each blog post.
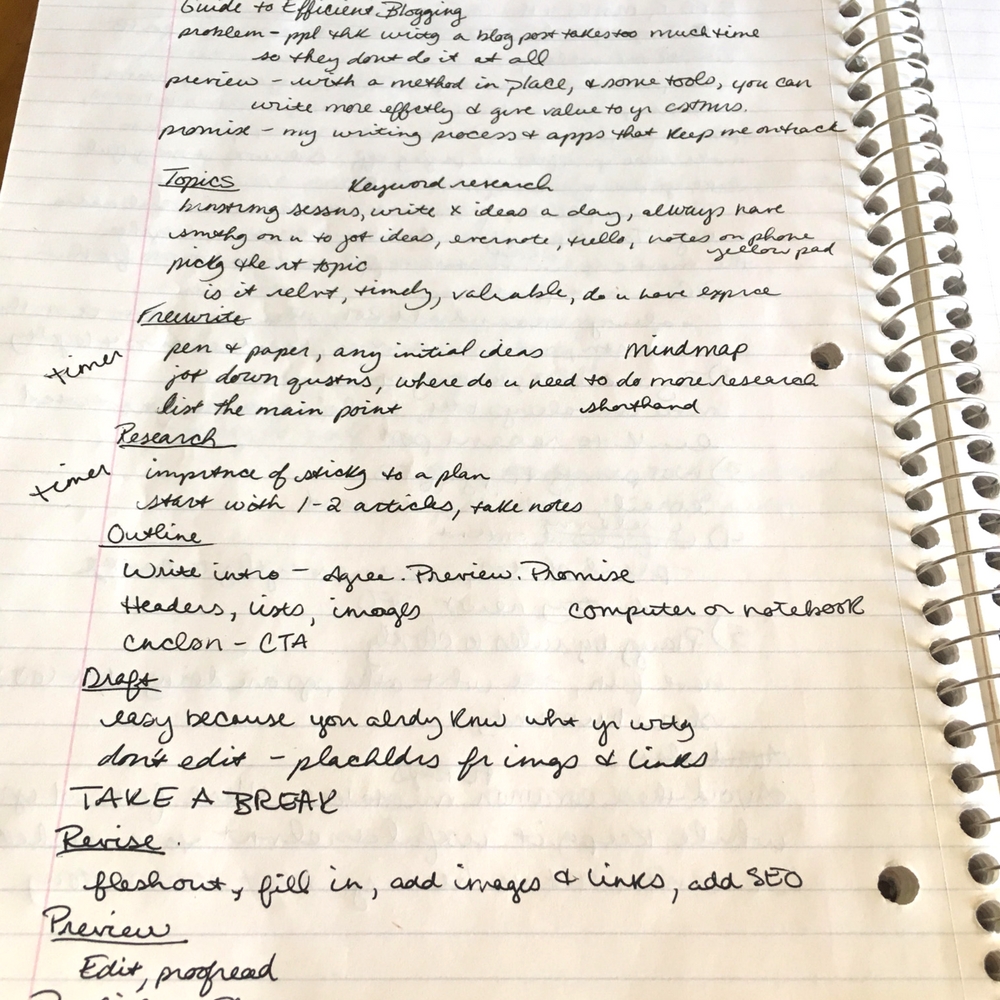
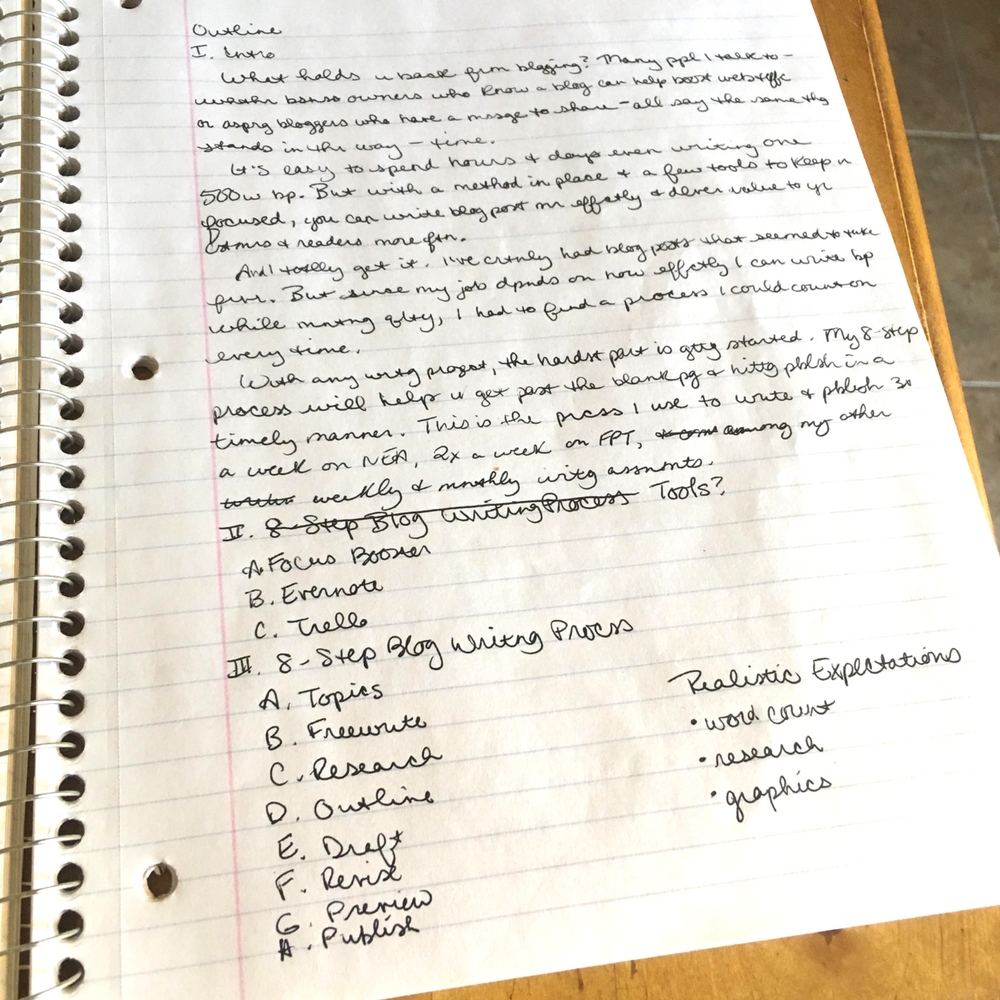
My 8-Step Blog Writing Process
Now that you have the right productivity tools in place, it’s time to speed up the writing process. Here is the 8-step blog writing process that works for me:

1. Brainstorm topics
The first thing you need for a blog post is your topic. Obviously, if you don’t know what you’re going to write about, the process is going to take forever.
And sometimes that is the case. You sit down to write a blog post and spend hours trying to come up with the right topic. If that’s how it typically goes for you, I suggest making your brainstorming time separate from your blog writing time.
Set aside 15-30 minutes on a random day and say hey, I’m just going to come up with some things I’d like to talk about on the blog. No pressure to actually write about them today, we’re just brainstorming here.
Another way to go about brainstorming topics is to make a practice of writing down 5 blog post topics every day. If you’re a business owner, you might not want to take the time to do that. But if your main job is blog writing or you want to get into blogging, definitely make this a habit. I usually jot down my 5 ideas over breakfast, then type them into my “blog post ideas” card on Trello.
Sometimes, blog post topics come to us when we’re not working. I get tons of ideas when I’m out hiking or even walking Yoshi. In the car, in the shower, in the frozen yogurt line – ideas are popping up all the time. I’ll usually jot them into Evernote on my phone (or just the Notes app because I can’t always remember my Evernote password). Otherwise, I love having a little notepad on me to jot down more.
Once you have some ideas, do your keyword research using the Google Keyword Planner. Use this step of the process to create some base headlines. Your headline may change as you see your blog post take shape, but it’s helpful to have something to go off.
Use this headline analyzer, or check out this post to create killer headlines people can’t resist reading.
2. Freewrite
This is my favorite part of the blog writing process. Freewriting is essentially a brain dump of everything you have to say on the topic you’re writing about. I suggest using a pen and paper over your computer for this step.
You don’t have to write in full sentences (I don’t even use full words, I freewrite in a Michelle short-hand version), you just need to get all of your thoughts out.
Here are some things to think about when you’re freewriting:
- Who is your target audience for this article?
- What problem are you addressing?
- What is your solution to the problem?
- What does the reader need to know to make this solution work for them?
- Where do you need to do more research?
Jot down everything that pops up for you. Then, write out whatever you have to say on the topic as if you’re simply telling your journal about it.
It’s important that you do this before reading any other posts on your topic or doing research. Why?
Because it keeps your writing authentic. You will need to do research eventually, but first you need to find your own voice and stance on the topic.
You may want to use the Focus Booster timer for this part. You don’t want to take too long here, but long enough to get your ideas flowing. For most articles, I set a 48-minute timer to do this Freewriting stage as well as the next step, Research (followed by a 12-minute snack break).
3. Research
You’ll most likely need to do some research on whatever topic you’re writing about. Even if you are an expert and know everything about your topic, I still think it’s helpful to check out what has been written on it already. Since there are a zillion articles on every topic in the world, you have to do your best to take a different angle or stand out.
Doing research can easily take you down a time-wasting, self-doubting path, so it’s important to stick to a plan. Commit to reading no more than 2 or 3 articles (again, more or less depending on word count and complexity of the topic). Read one at a time. Take notes on what you read and star what you think is important to include.
Also, use a timer to make sure you’re not spending all day reading articles instead of writing an epic one.
4. Create a blog post outline
Now that you have a zillion ideas, it’s time to determine which ones will fit neatly in your article. Create a structured outline around the highlights of your article. Include your intro, headers, bullet lists, image placeholders and a conclusion.
Your outline can be as simple or as in-depth as you prefer. I suggest adding keywords you recognize or small research notes where you want to go deeper into a topic. Use whatever kind of language you understand, as this will be your guide for actually writing the blog post.
People (myself included) often are tempted to skip this step and jump right in, but I find it so much easier to start typing when I have a roadmap to follow. Yes, it might take all of 5 minutes, but you’ll gain hours of your life back.
5. Write a rough draft
What seemed impossible when starting is now the easiest part of the process. You’ve done all the hard work already! From your brainstorming, researching and outlining, you’ve pretty much written your article from start to finish. Now you just have to plug it into WordPress or whatever blogging tool you use.
I typically copy everything I’ve written in my outline, including scribbles and weird notes, right into my WordPress draft to start. Then, I go back and flesh it out, filling in the gaps and nonsense.
Note: It’s important during this step to focus on writing. Avoid editing as you go, and simply write the draft from start to finish. Burnout and chaos happen when you try to make the post perfect in one sitting. It doesn’t happen.
During this stage of the blog writing process, don’t stop and look anything up. Don’t insert your pictures or find links to supporting articles. Simply write, and don’t look back. There will be time to add in all the glitter and glory. For now, we don’t want to lose all the momentum from our brainstorming and researching sessions.
TAKE A BREAK
Yep, do it. It’s helpful to get distance from your work-in-progress. The first part is some seriously hard brain work, so it helps to refresh before you trek on.
Just like you stop at the top of a mountain to take in the view and eat a snack, you need to do this when blog writing. During your break time, clear your mind so you can come back on the downhill journey with clarity, feeling recharged and refueled.
Your break might be as long as 15 minutes or 24 hours. If your deadline allows, it can be nice to do your revisions on a different day.
6. Revise the draft
Now that we’re back in serious mode, take a few passes through your draft. I typically take 3 passes through in the revision stage of my blog writing process, doing the following:
- Pass 1: Polish the wording – my first draft can look like a 1st-grader wrote it, so I take a look through to see where I can add style, fix grammar, and, basically, make sense of my words.
- Pass 2: Check SEO – I’ll take another pass to see where it makes sense to make my article more SEO friendly without hurting its quality. This is where I’ll add links to other articles or interlink to posts within the website I’m writing for, as doing these steps helps SEO. Be careful not to stuff your article with keywords where it doesn’t make sense. Note: The Yoast SEO plugin is a great tool to see where you can improve your SEO. You can also use free tools to check your keyword density.
- Pass 3: Insert images – If you’re a one-man show doing images for your blog as well, this pass may be a whole other beast in itself. But images are what draw people to your post, and visuals like infographics and videos can help explain what you’re talking about. Take the time to make your images awesome. My favorite tool to use is Canva for Work because I can easily upload logos and use my brand colors. The free version is pretty excellent as well.
7. Preview
In WordPress you can check out the preview of your post as a reader would see it. View this version in a separate tab, keeping the editor open so you can edit as you go (that is allowed in this step!). Read through for grammar and typos, make sure the images look awesome, test that the links work, etc.
There’s nothing more annoying than putting hard work into a blog post only to have that criticizing friend of yours text you 5 minutes later about a typo in the first paragraph. Part of blog writing involves taking the time to edit and proofread.
And…finally…
8. Hit publish!
Phew, you did it! Hit that Publish button, share the link on your Facebook Page, text it to your mom, shout it to the world: You completed that blog post that’s been on your to-do list for 6 months! You’re so excited that you’re already brainstorming your next blog post topic….
Or you’re exhausted and ready to hire this out. If that’s the case, let’s chat 😉 Blog writing is my passion. If it’s not yours, let me take the heavy work off your hands and keep your online presence going while you tend to your priorities within your business.
Let me help you publish content consistently. Click here to get the conversation started!